Fraunhofer Institutes develop non-destructive quality test for hybrid cast components
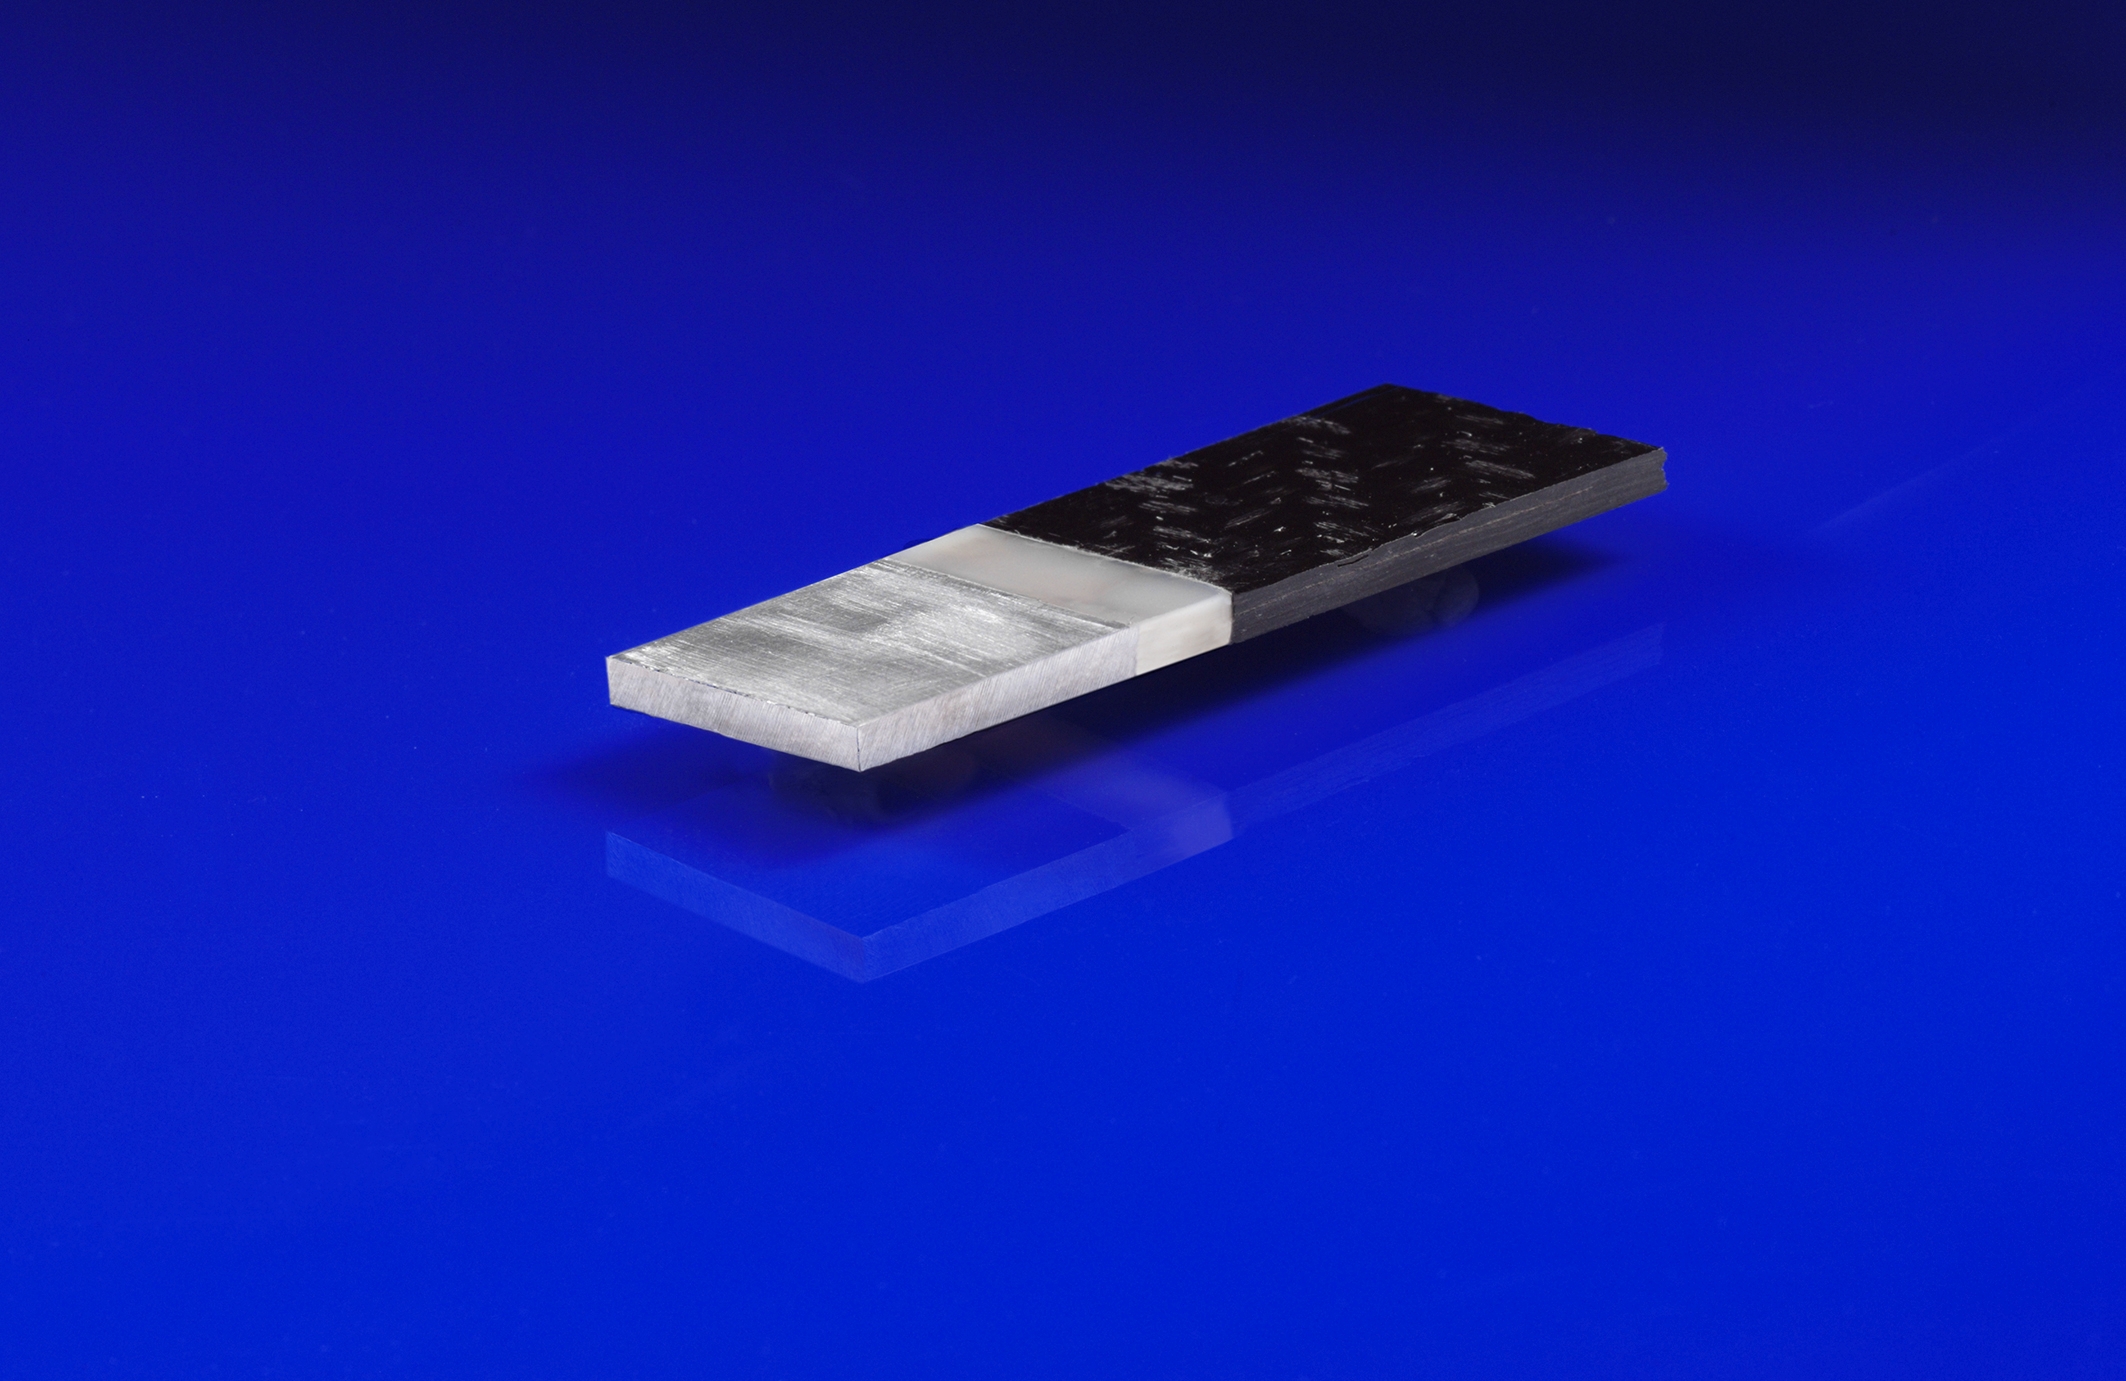
Lightweight design is increasingly applying trend-setting hybrid structures made of fiber composite materials and lightweight metal alloys, combining the advantages of both types of materials in hybrid construction techniques. In the current state of the art, the joints are bonded or riveted. In recent years at Fraunhofer IFAM, a new type of joining technology has been developed for various types of hybrid joints in high pressure die casting. In comparison with conventional joining techniques, the cast parts have advantages in package size, lower weight, and galvanic isolation. In order to use the hybrid cast components safely, three institutes in the Fraunhofer Gesellschaft are working together to research testing concepts to support industrial series production of these hybrid components.


The combination of high pressure die castparts and fiber materials or wires opens up new potentials for lightweight components. These are increasingly in demand in a wide range of industries - particularly automotive and aerospace. Up to now, however, no suitable method exists for non-destructive quality inspection of such hybrid components, which is a prerequisite for industrial applications. The project “HyQuality - Hybrid casting production with standardized quality assurance” brings together the technical experts from Fraunhofer Institutes IIS/EZRT, IZFP, and IFAM to jointly develop appropriate methods for this application. The goal is to come up with an inline inspection that is integrated in the production line and non-destructive in nature, which makes all types of defects in hybrid components visible and therefore enables their analysis.
Non-destructive monitoring – a look inside the part
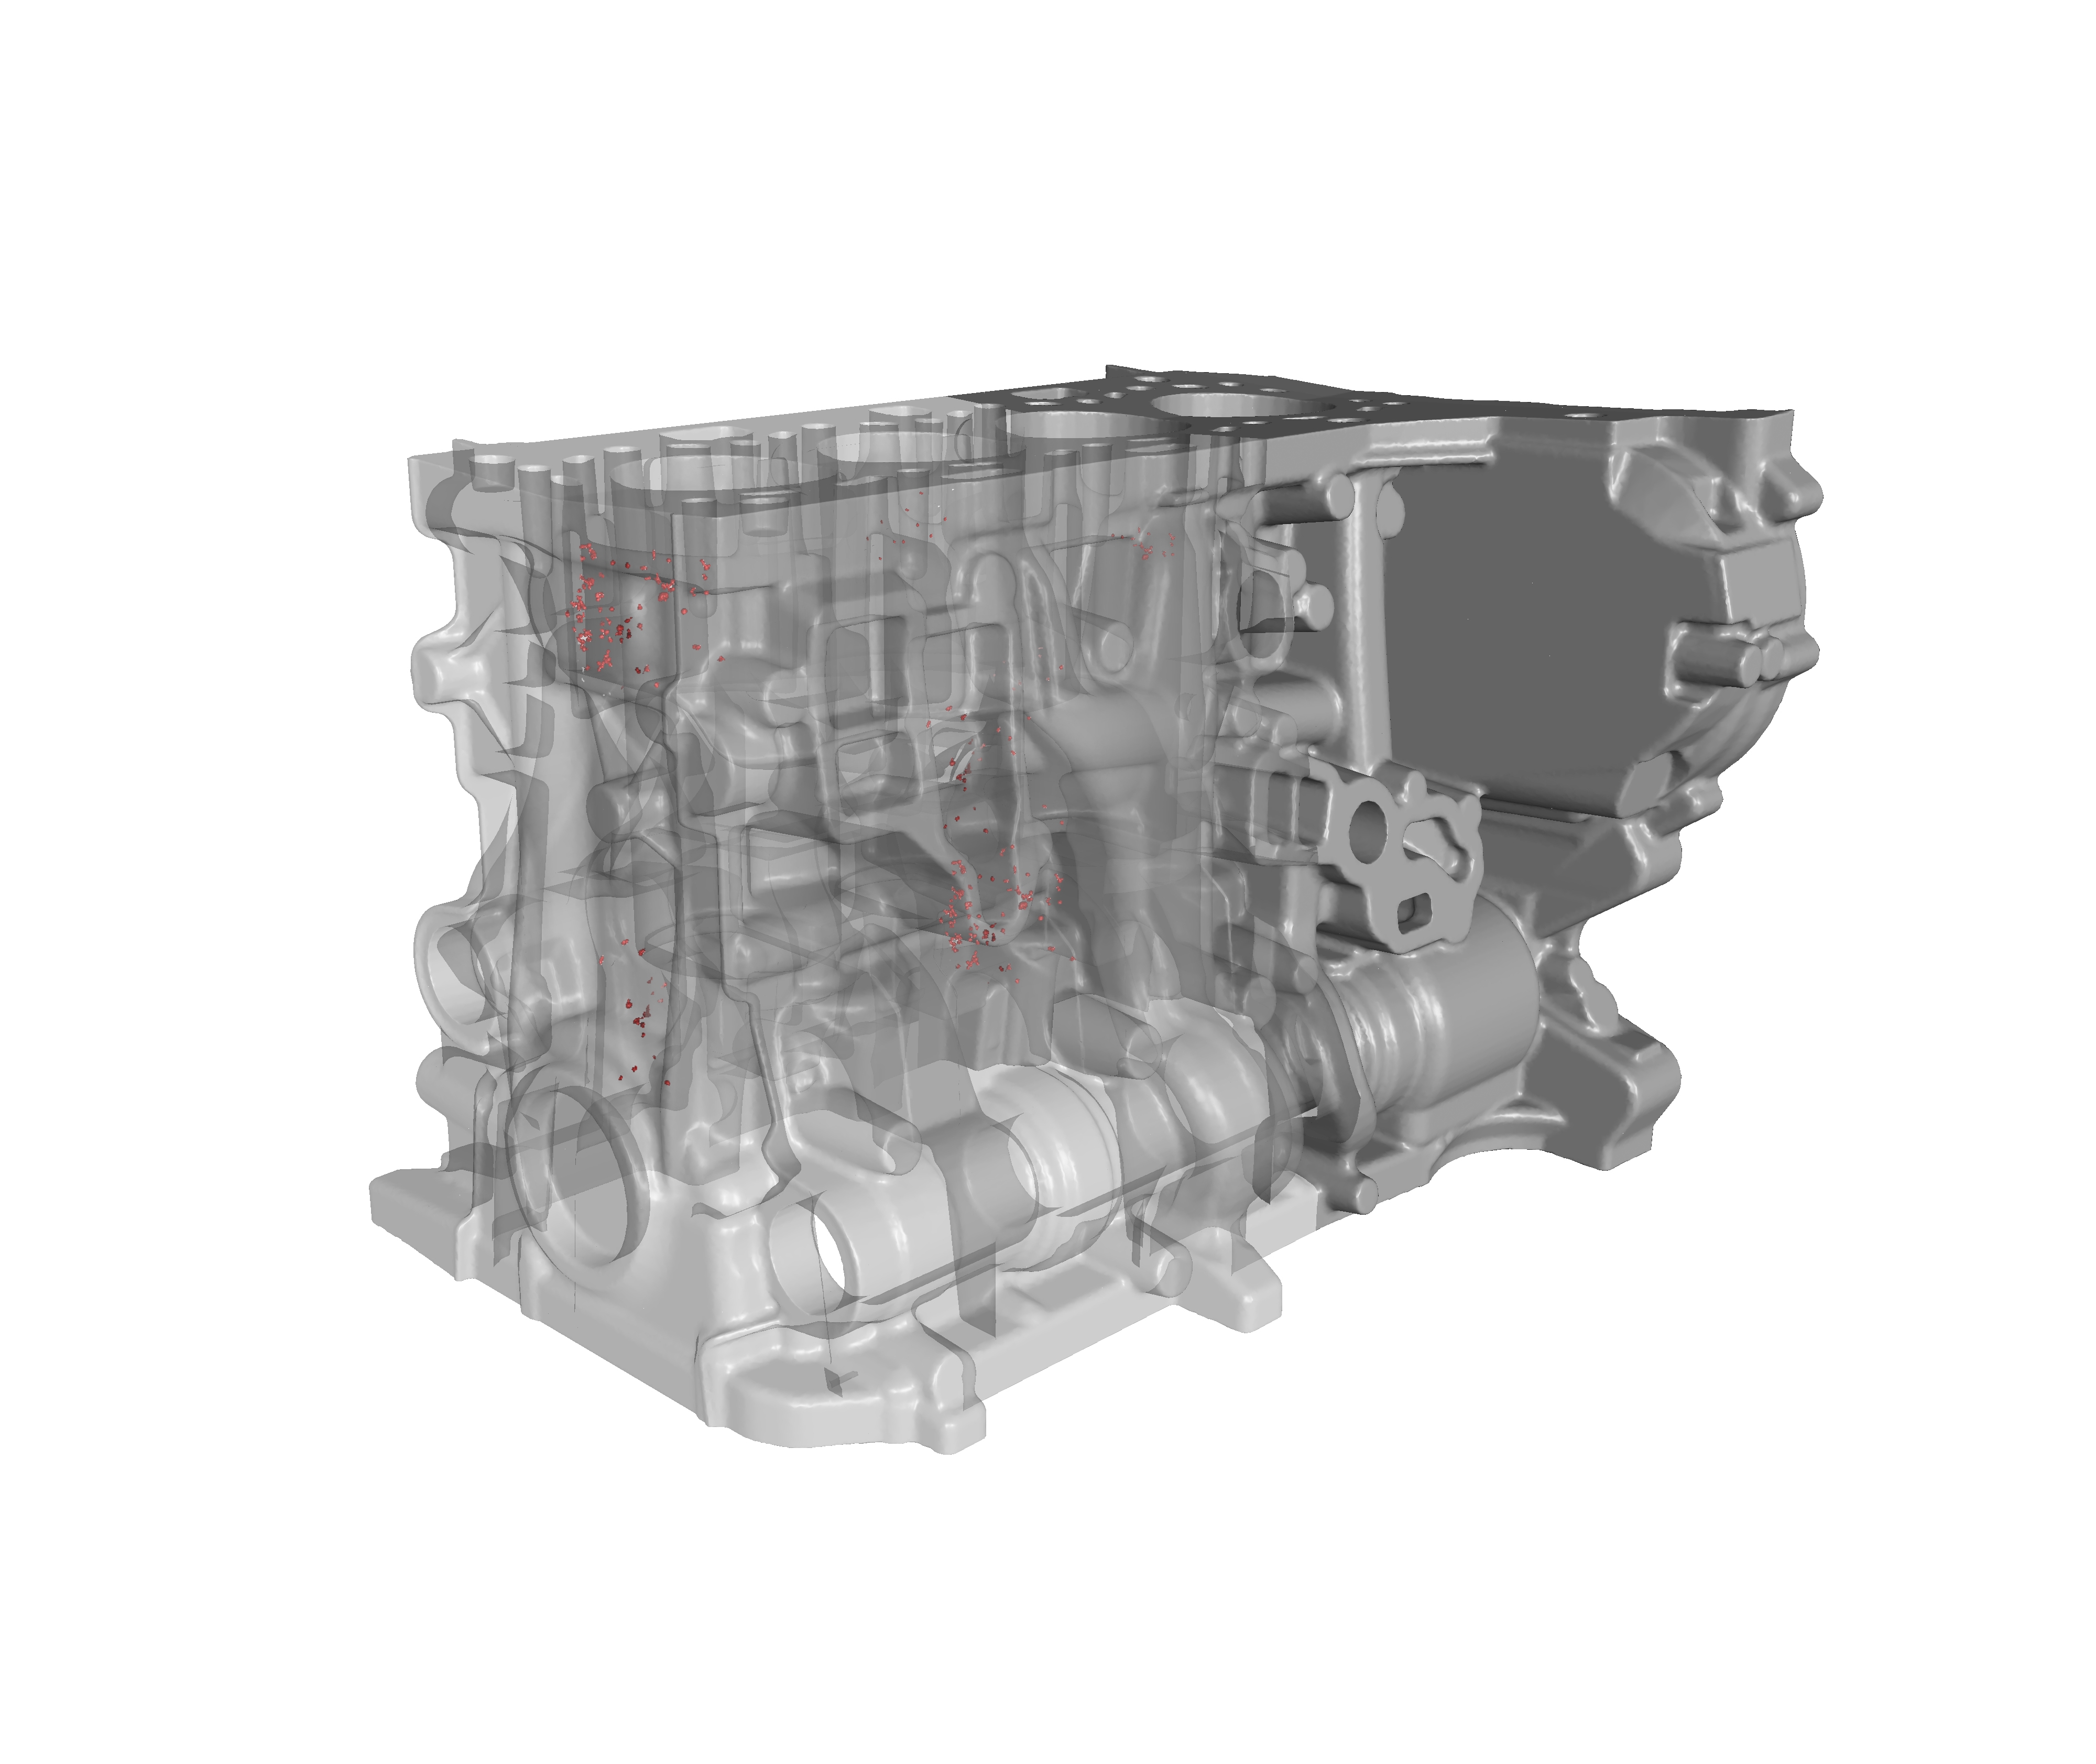
In order to precisely detect the contact surfaces between fiber, wire, or sheet-metal reinforcements and the cast matrix, and to evaluate their quality, imaging technology must be used to show the material in as high a resolution as possible. X-ray technology, computed tomography and thermography are three of the technologies that are being considered in this context.
Industrial X-ray technologies, especially computed tomography, offer effective monitoring for a three-dimensional inspection of components. They provide a look into the interior of the objects and are therefore excellently suited for making even tiny defects within the materials visible. The Development Center for X-ray Technology EZRT is a leading international research and development center with core competencies in the area of non-destructive monitoring along the entire product lifecycle. One essential focus of development is production monitoring in foundries using inline CT systems, which are capable of detecting deviations from the optimal production process at an early stage.
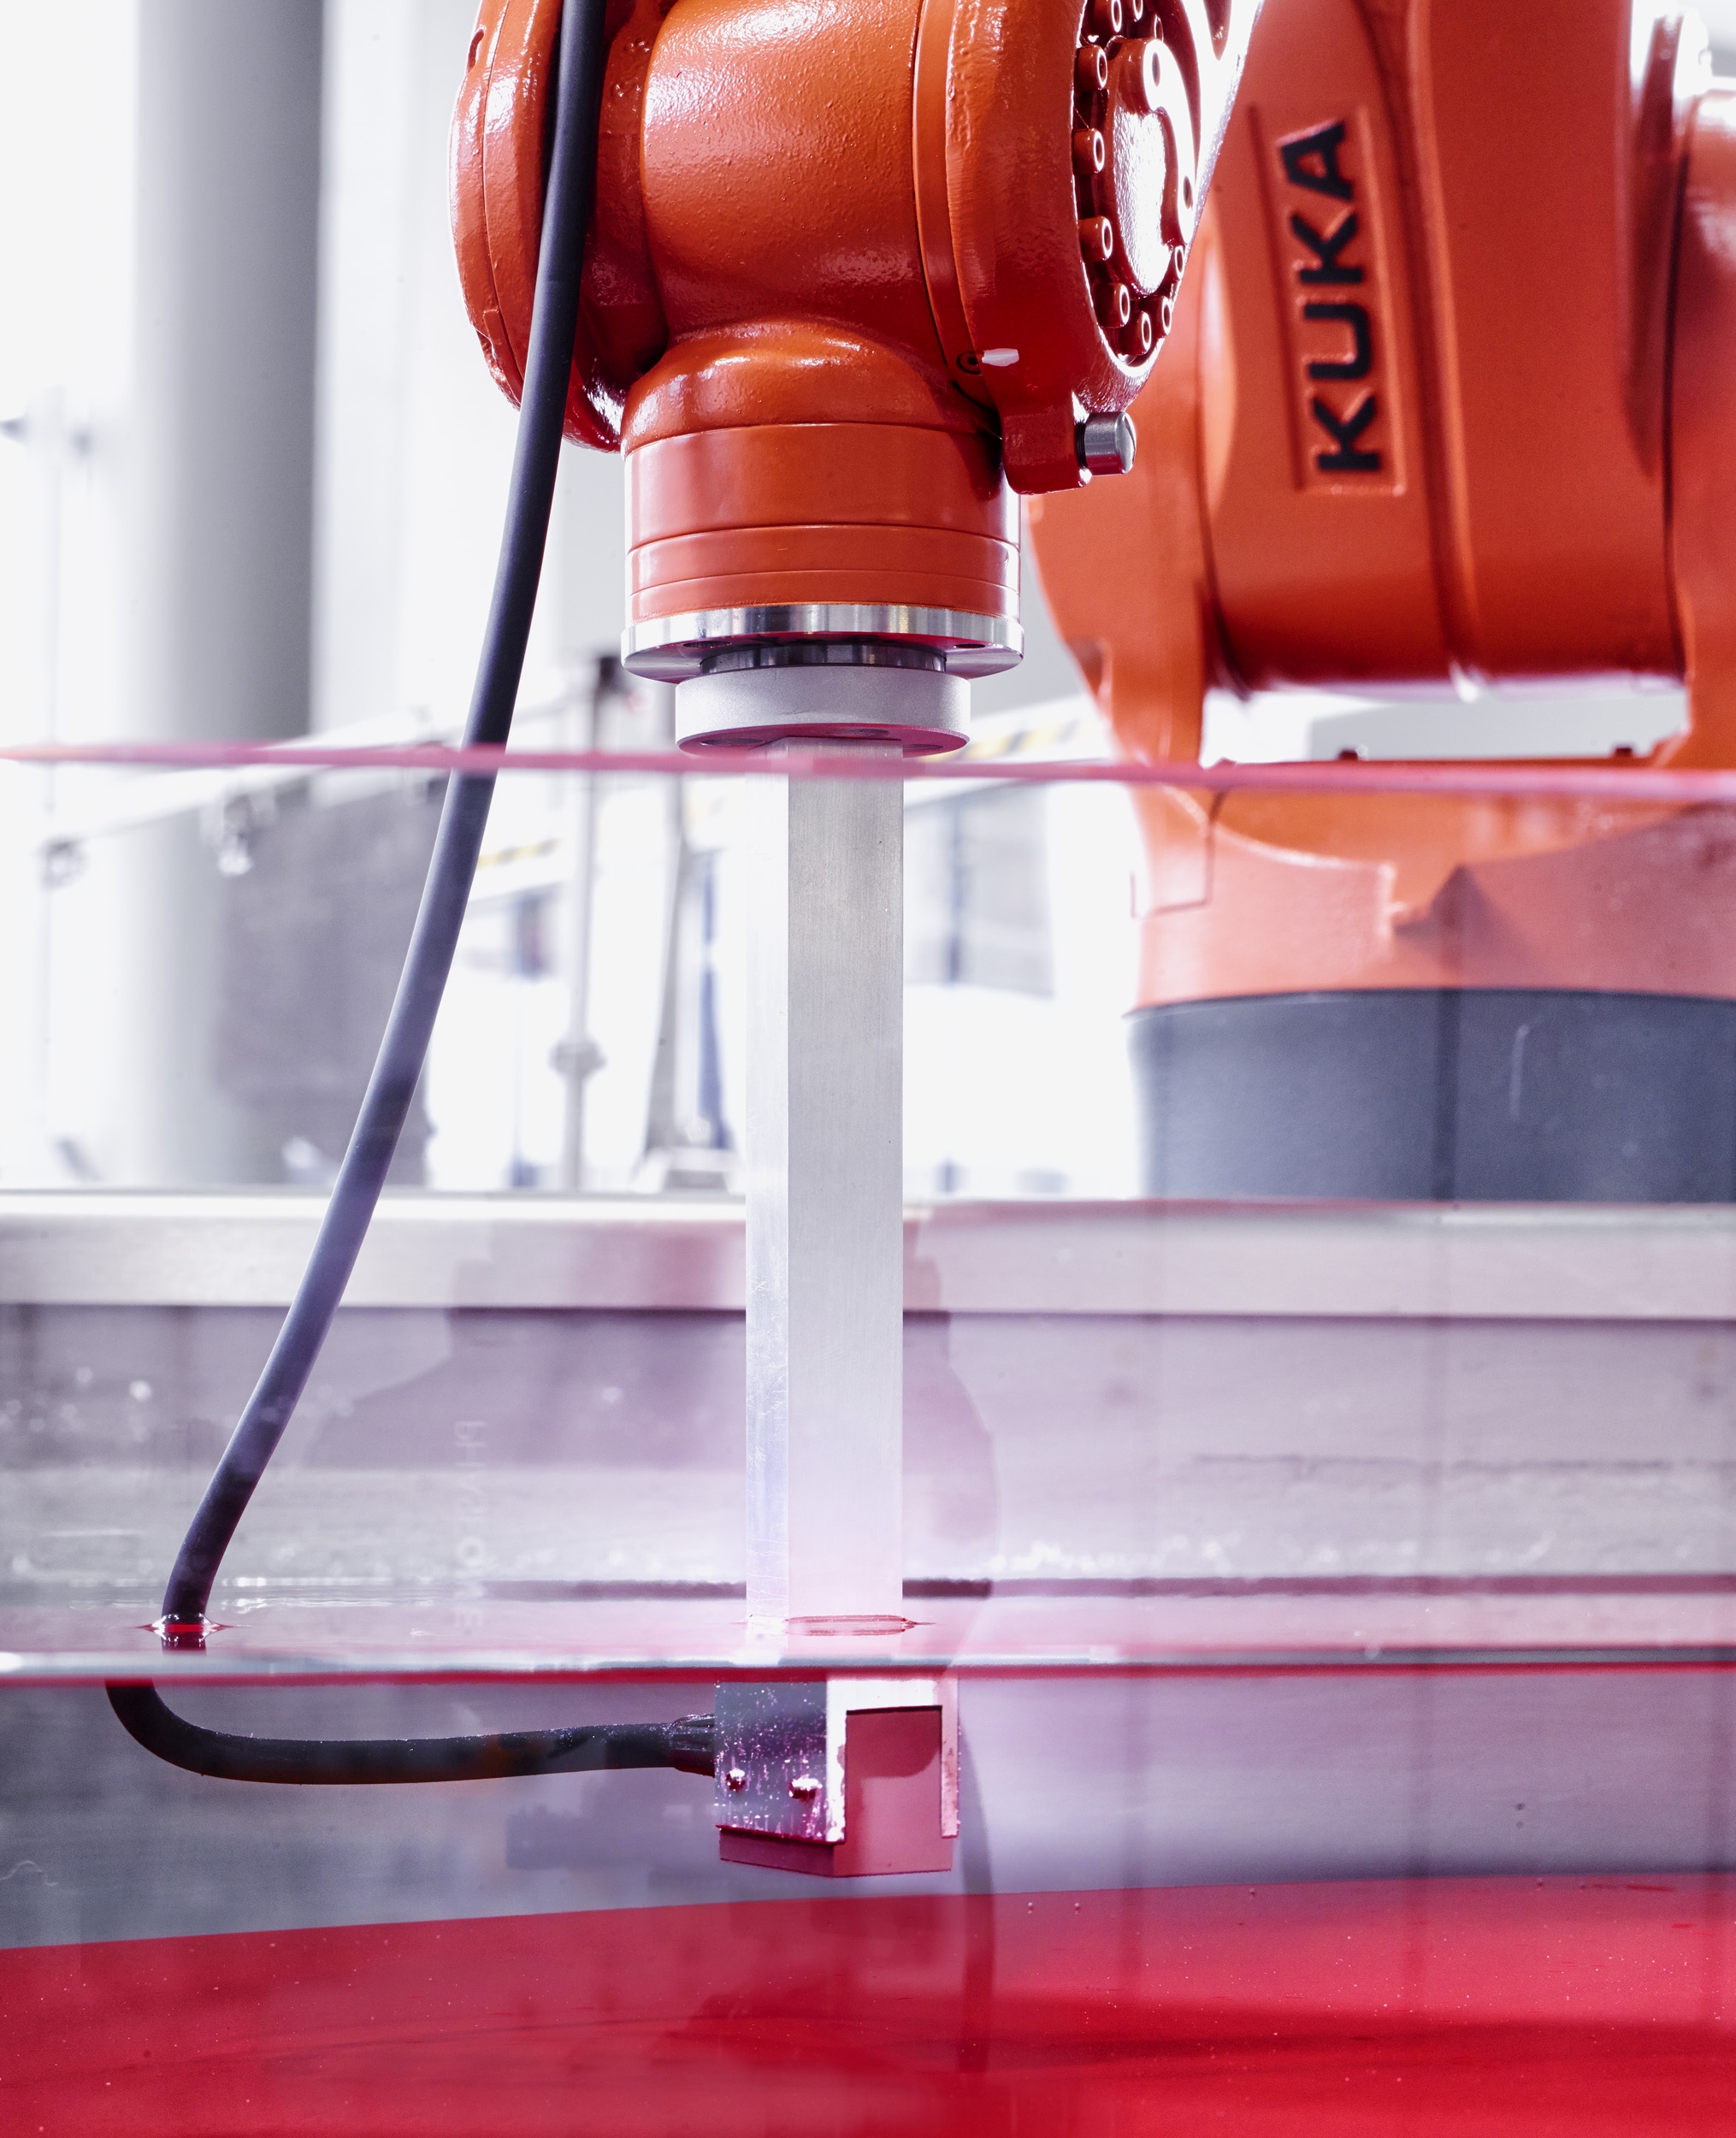
In addition to X-ray methods, the project plan calls for thermographic, acoustic, and magnetic inspection methods to be used by the Fraunhofer Institute for Non-Destructive Testing IZFP in Saarbruecken. The method known as active thermography enables rapid, easily automated defect detection, such as crack detection and identification of delamination and fiber fractures in carbon-fiber-reinforced plastic components. Depending on the component, excitation occurs using optical impulses, ultrasound, or induction. With a resolution of about 15 mK, and an image frequency of 20 kHz, tiny variations in thermal flow can be detected, which may be caused by defects. Ultrasound testing is another versatile method. Depending on the requirements, tests using electromagnetic ultrasound (EMAT), airborne ultrasound, or high-frequency ultrasound in water immersion are possible approaches. This selection is supplemented by the use of multi-frequency eddy-current testing. By exciting frequencies in the range of 100 Hz to 10 MHz, microstructure differences in the metal can be detected along with layer separation and cracks.
The goal of the development team is to test all of the methods with respect to production-integrated inline testing for hybrid castings. In order to determine the suitability of each of the non-destructive testing methods, and to draw a scientific comparison, the samples and components produced for the project will be tested destructively afterward. The results of the destructive testing will provide reference values and will be used to compare the results of the non-destructive test methods.
Last modified:
 Fraunhofer Institute for Manufacturing Technology and Advanced Materials IFAM